How to Regrout Bathroom Tile
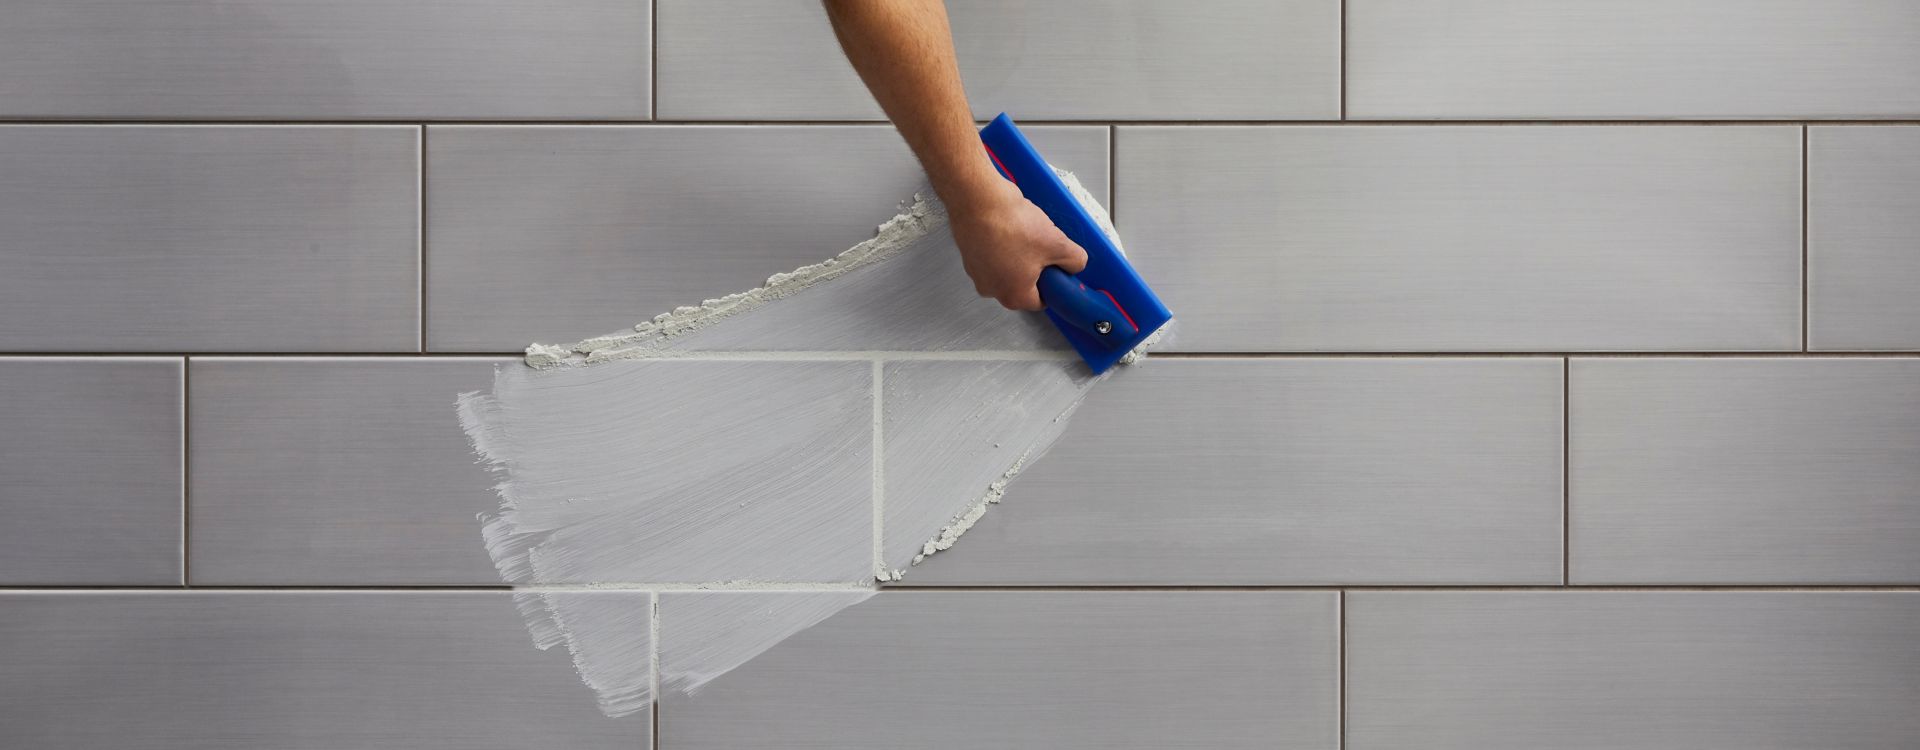
Regrouting your bathroom tile is a relatively straightforward and approachable DIY home improvement project that can make a dingy bathroom wall look like new. Whether your grout is cracking and falling out or is simply discolored and in need of a refresh, regrouting can make a world of difference.
Follow our step-by-step guide to regrout your bathroom tile.
Tools You'll Need
- Masking tape
- Drop cloth or plastic sheeting
- Oscillating multitool or manual grout removal tool
- Shop vac
- Trowel
- Bucket
- Grout float
- Grout sealant
- Sponge
- Soft, dry cloth
How to Regrout Bathroom Tile in 7 Easy Steps
Prepare the Work Area
Remove the Old Grout
Before the new grout can go in, the old grout must come out.
The easiest way to remove old grout is with an oscillating multitool. However, if you do not have one on hand, it can be more investment than some DIY bathroom remodelers want to make, especially for a one-time use. If you are looking for a more cost effective tool, manual grout removal tools tend to be about 10% the cost but do require significantly more elbow grease.
Use the grout saw or oscillating tool to score along the grout lines to create a shallow groove. This will make it easier to remove the old grout. Once the grout is scored, continue chipping away at it, being careful not to damage the tile. Use the shop vac to vacuum the dust and grout remnants as you go.